Core Exercise #1, animate a Droid!
Please post questions/problems in the comments below so all can learn. Some things that I would mention that I did to help you with this first exercise:
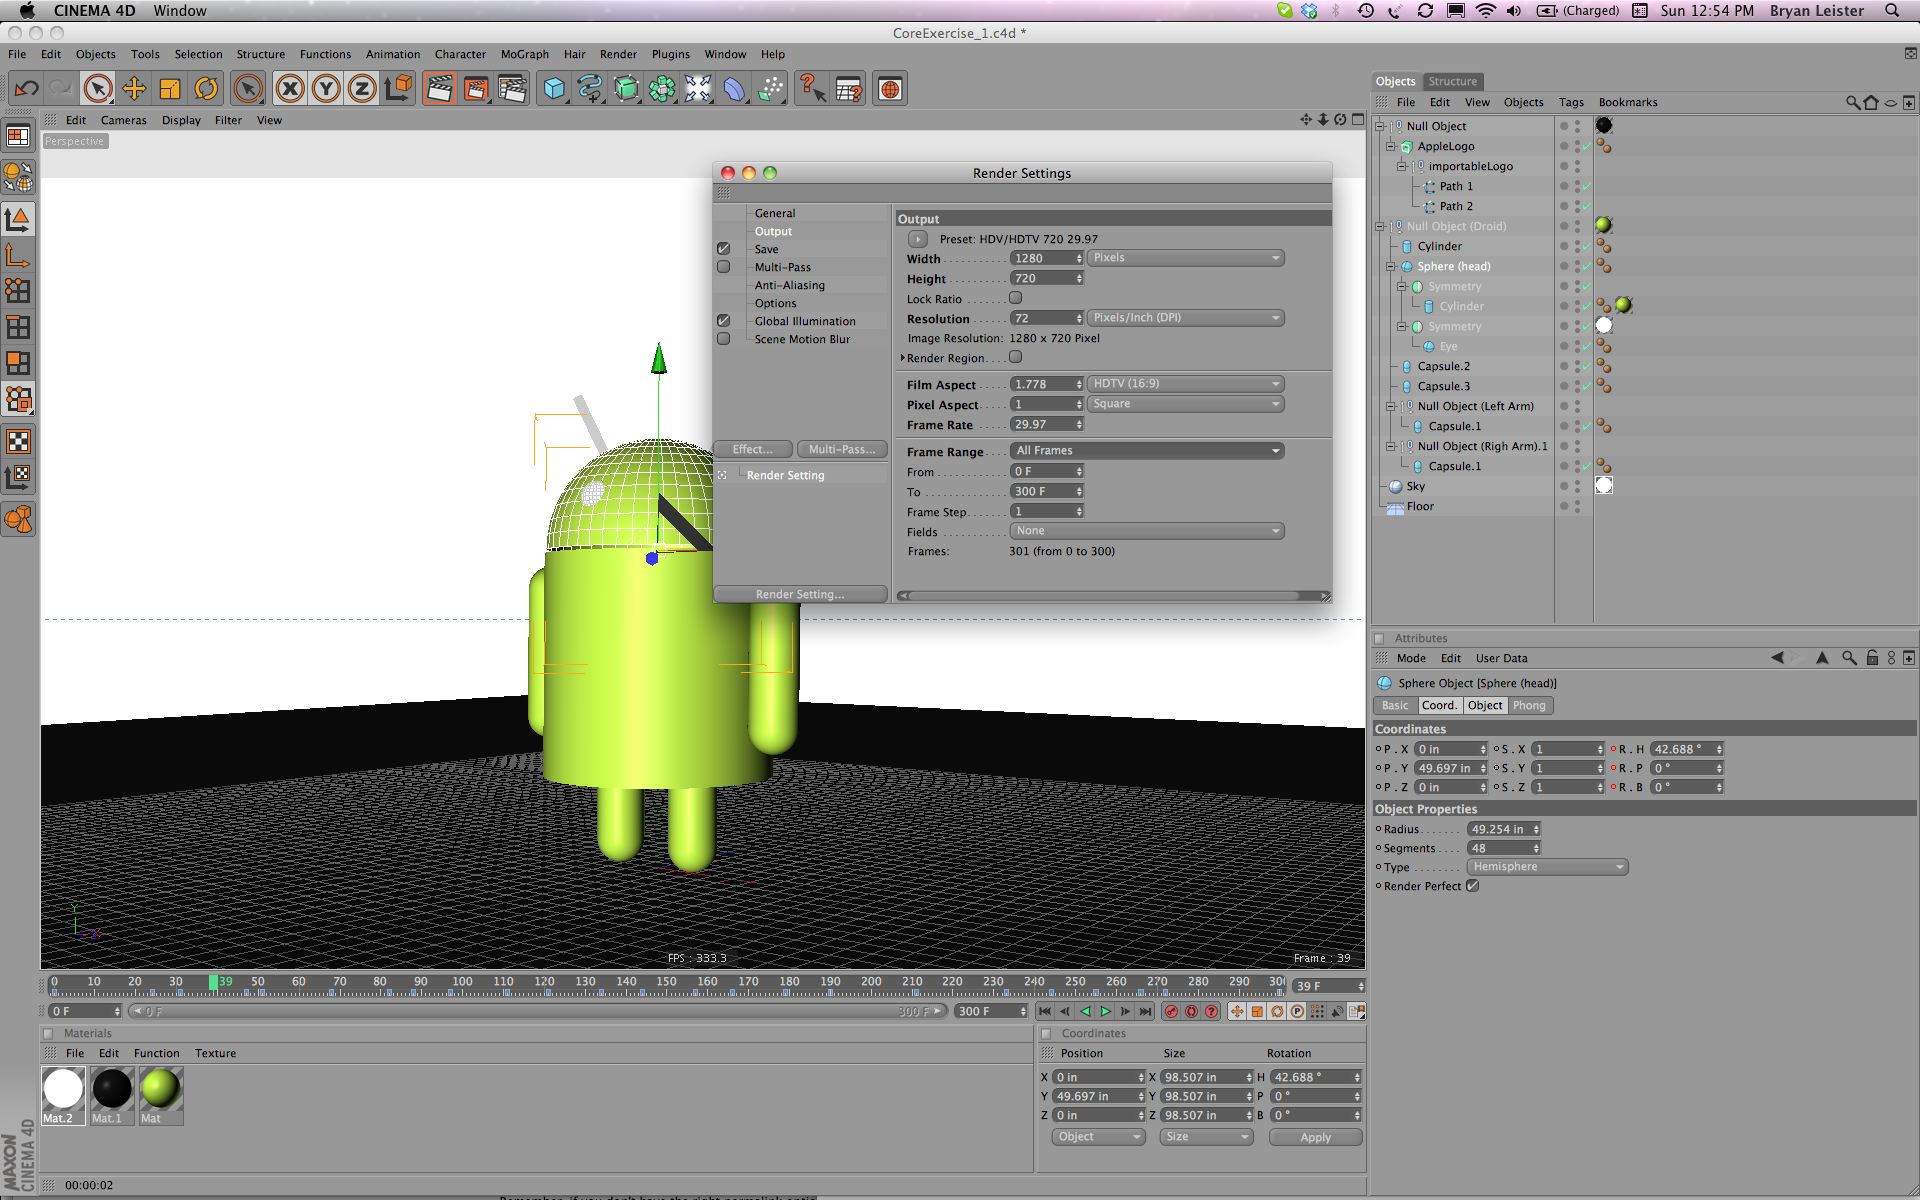
- All the models are standard objects, i.e. Sphere, Cylinders. I did not have to do any Polygon modelling, but do look at the screenshots below, I’m giving a hint as to how I made one object that involves changing some of it’s default attributes.
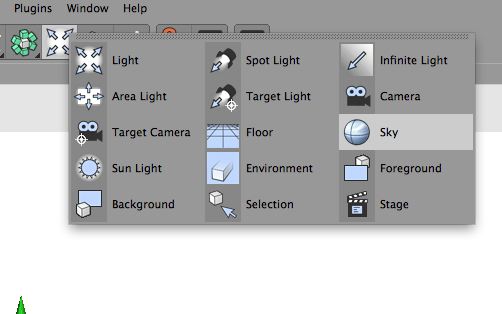
- There are no light sources in the scene, just Global Illumniation. (Please note the Sky object and material, this does effect the rendering)
- To get you started, I just keyframed the Apple logo really simple – keyframe the appropriate rotation value at 0 on the first frame. On frame 300, keyframe the rotation value a multiple of 360 ( for example 360*9 can be entered into a number field and C4D will do the math for you). By making it a multiple of 360, I know I will end up facing the same direction I started so it is a looping animation.
- I did not use a camera, I am just using the default Navigation view and then I rendered when it looked right. You may want to check out the Camera section if this confuses you.
- A hint: I have only animated 4 things – the Heading (H) on the head, the two arms, the Apple logo and the body of the Droid moving in the Up (Y axis) direction. I did not need to get into editing FCurves, just keyframed the Droid to react to the spinning Apple logo…
We are focusing here on just getting to know the interface, and the importance of properly parenting objects to get them ready for animation. Some side benefits, you can see how we don’t really need to get into elaborate polygon modelling to make cool, animatable objects. A lot can be done with Primitives objects, proportion, timing and color to make a lively animation.
Note: I have included an example Adobe Illustrator file which you will use to make the Apple Logo. There are two versions of the file, one includes an explanation of how to work with Illustrator when making shapes for importing into 3D. Take a look at it, and then use the other file labeled ‘importableLogo.ai’ to bring into Cinema. Here are the steps to import:
- Download and unzip the files – LogoArtwork
- Open and read the AppleArtwork.ai document. These notes and instructions are useful whenever trying to import from Illustrator, follow them!
- In Cinema, go to File > Open and select the ‘importableLogo.ai’ file.
- There may be a flaw in the import, the leaf may appear to be half a leaf. Select the Leaf Path and look at it’s Attributes. Make sure ‘Closed’ is checked for both.
- Copy the path hierarchy into your 3D scene.
- Drag the path hierarchy into an Extrude Nurbs object
- Look at the Extrude Nurbs Attributes. Make sure ‘Hierarchical’ is checked so that both paths are extruded at the same time.
Some of the Modules that you will need to watch to learn how to animate this scene.
All of the Basics , but especially these:
Menu Overview
Navigation
Parent Child Introduction
Views
Modeling using Parenting concepts
Rotation Planning using Parenting Concepts
Basic Render Settings
Some of the Animation Videos:
Animation Overview
Setting Keyframes
Adjusting Keyframes
Automatic Keyframes
Timeline
Some of the Materials videos:
Overview of Materials
Assigning Materials(Textures)
Some of the Modeling videos that apply:
Import Adobe Illustrator Artwork
Extrude NURBS
Mirroring
Symmetry Object (Mirror2.0)
Primitives
Origin Point
And of course Rendering :
Basic Render Settings
Global Illumination
HD Render Settings
Backgrounds
Backgrounds – Faded Floors
You’ll need to look at Lighting, due to a change in how C4D treats the Sky object in v. 11 vs. v. 12:
Global Illumination – Sky Object
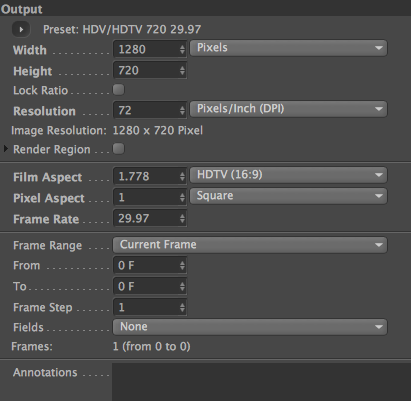
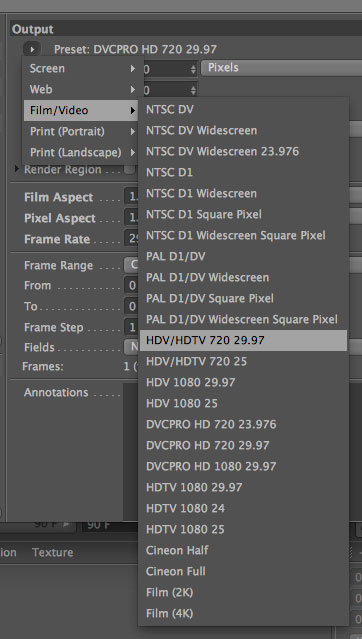
Render your video out at 720p, 30fps. (1280×720 pixels at 30 frames per second) – be sure and watch the rendering videos to learn more about this.
Render to a quicktime video.
Things to do on your own to improve this video: Try to get rid of that irritating line that is the horizon using a Faded Floor. Maybe figure out how to turn on Motion Blur, or use After Effects excellent CC Motion Blur filter. Find that in AE under Effects>Time>CC Force Motion Blur. You could also improve the materials quite a bit, I’m using the default Material in C4D for the Droid, which uses Phong shading. For a project like this I might switch to Blinn or Orren Nayer for a nicer, felt-like material. Apple is a very shiny company, so maybe adding a slight bevel to the extruded logo and then a HDRI material mapped to the environment channel would be cool, or simply turn on Reflections. Of course, I never use Reflections without Fresnel… Finally, a closer look at the Droid logo would reveal that I took a shortcut in modeling its body, but since that would involve making a Primitive editable and deleting unused Polygons, it was beyond the scope of this first exercise.


I was having trouble positioning my space so I could see my robot up close so I tried to revert all of the coordinates back to 0 and suddenly couldn’t see all of my objects (even though it says they are there), any ideas?
Probably you zoomed in too far, so your camera (your point of view) can’t see the object. If you have the object selected, you can hit the ‘S’ key to view Selected.
The other option is to go to your perspective window, Edit > Frame Default. I believe one of the Basics on using the view video might go over this as well.
hi. doing this core exercise and having render troubles:
1. sky is black.
2. droid and apple logo are grey EXCEPT where shadows should. for example, between the body and arm
GI is on default settings. sky and floor default
texture on droid only has specular and color turned on.
I will put up a new video tonight. They have changed the default settings for Sky so that you now must apply a material to the sky. The material is used by Global Illumniation to determine how much light. GI uses the Luminance channel in the material if you want the object to actually emit light and not just reflect it passively. Therefore, turn on Luminance in the Material that you create, and then apply the material to the Sky. Adjust the value of the material from 100% to 1000% as needed to get the right amount of light.